![Humanitru-logo-green-horiz-lo-rez-web-main-RGB-3.png]](https://kbhelp.humanitru.com/hs-fs/hubfs/Humanitru-logo-green-horiz-lo-rez-web-main-RGB-3.png?height=40&name=Humanitru-logo-green-horiz-lo-rez-web-main-RGB-3.png)
Twilio two-way texting feature
Twilio’s two-way texting feature allows you to send texts to Constituents on a one-to-one basis. Constituents can then reply to text messages and both outbound and inbound text messages are automatically logged in Alpine.
Before you start
- Make sure that you have successfully connected your Twilio account with your Alpine database.
-
The following steps can only be completed by those with Admin permission levels in Alpine.
How to send a Twilio text message
To send a Twilio text message to a Constituent using the Alpine interface, follow these steps.
- Log in to your Humanitru Alpine account.
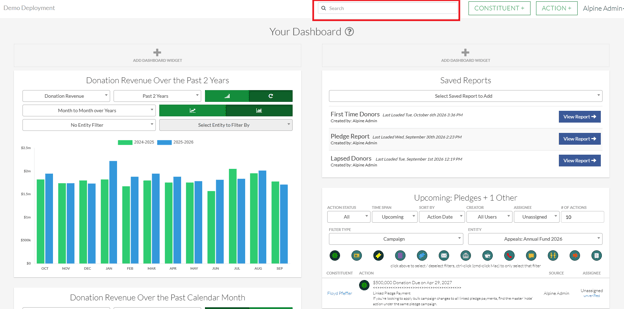
- Use the Search bar to find the correct Constituent.
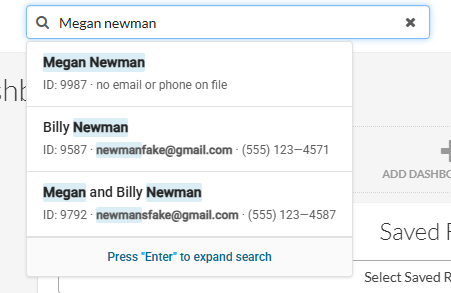
- Click on the name of the Constituent in the drop-down menu.
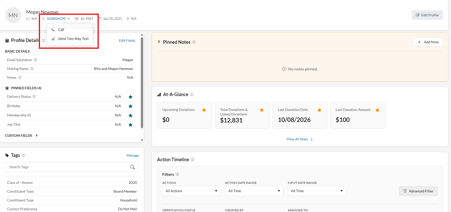
- From the Constituent profile page, in the top left, click the arrow next to the Constituents Phone Number, and click the Send Two-Way Text (Reply-Enabled) button.
- Type your text in the Message Body.
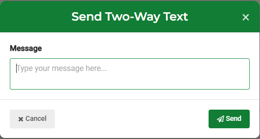
- Click the Send button.
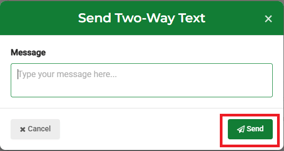
- Your outgoing text message will then appear as a Text Sent Action in the Actions section in the Constituent profile. It will include who sent the text, the date it was sent, and the context of the message.
How to receive notifications of Text Actions
Your Humanitru Alpine database can notify you via text message or email that a text message has been received in the database.
Create Tag Groups
If you wish to receive notifications for all text responses, you can skip this step.
To create Tags in Alpine, follow these steps.
- Log in to your Humanitru Alpine account.
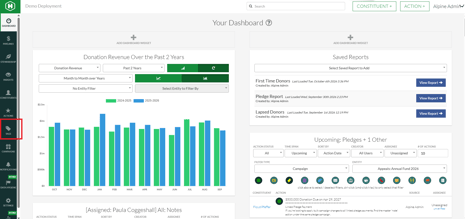
- Click Tags on the left navigation bar.
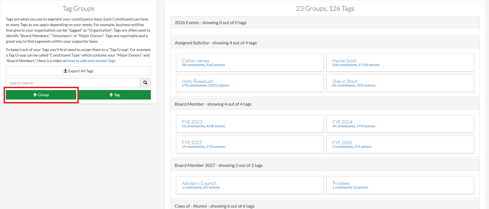
- In the Tag Groups box, click + Group to create a new Tag Group.
- You will be prompted to name the Tag Group. This Tag Group will be used to organize all of your tags related to text message notifications so you will want to be sure it’s intuitive to its purpose. We recommend something like “Receiver of Text Notifications”.
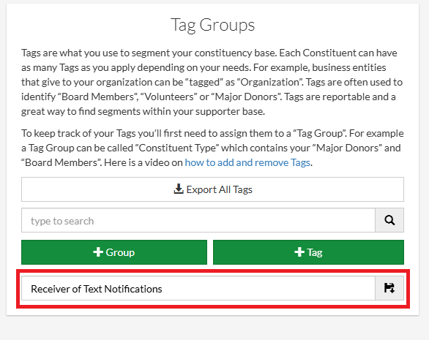
- Click the Save button.
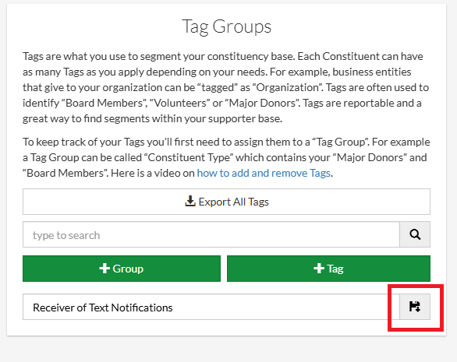
- Next click + Tag to add a Tag to your new Tag Group.
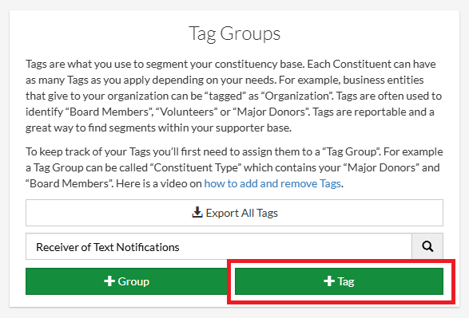
- Click Select Group to find the existing Tag Group from the dropdown.
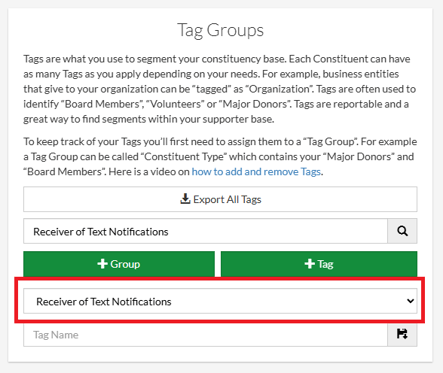
- Fill in the field for Tag Name. We recommend naming the Tag with your First and Last name or the name of your department if multiple people will be getting notifications of text received for the same Constituents.
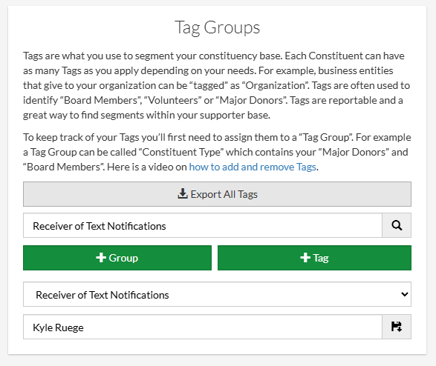
- Click the Save button. This tag can now be applied to a Constituent profile. Once applied, anytime a Constituent sends a Twilio text message it will notify anyone who has set up the system to receive notifications for texts from anyone with this tag.
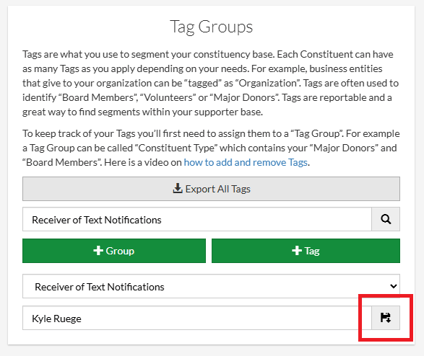
Create notifications
If the Twilio two-way messaging feature has already been set up in your Alpine database, you can create automated notifications that will alert you whenever a specific Constituent has sent a text message. To set up system notifications, follow these steps.
- Log in to your Humanitru Alpine database.
- Click Notifications in the left sidebar.
- Under whatever recipient you want this notification to go to, click + New Notification.
- Then set Channels to Text or Email depending on how you would like to be notified.

- From the dropdown in the Action Type column, select Text.
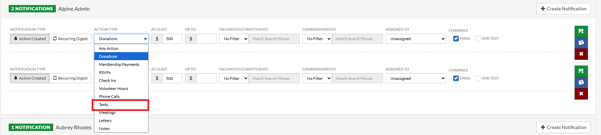
- Set the Tag Match Criteria (Constituent) to equals and then select the Tag Group associated with text message notifications.

- Set the Campaign Match Criteria to equals and select the Campaign called [System] Auto-Generated: Text Received.

- Click the Save button.
