NOTE: If you’re looking for information on how to bulk upload or bulk update Constituent data in your Alpine database, click HERE for step-by-step instructions
Navigating to the Bulk Uploader interface
The first step to uploading or editing data is to navigate to the Bulk Uploader interface. To open the Bulk Uploader interface, follow these steps.
- Log in to your Alpine database.
- Click on your name in the top right corner of the screen.
- From the drop-down menu, click Bulk Upload.

This will open up the Bulk Uploader interface.

To close out of the interface you can click on the “X” in the top right corner of the screen at any time to be taken back to your Alpine Database.
Action Types
If your spreadsheet contains both Constituent data and Actions, select Actions & Constituents as the Upload Type.
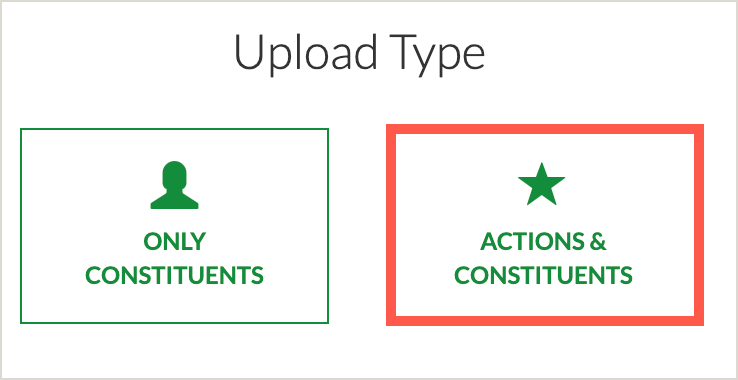
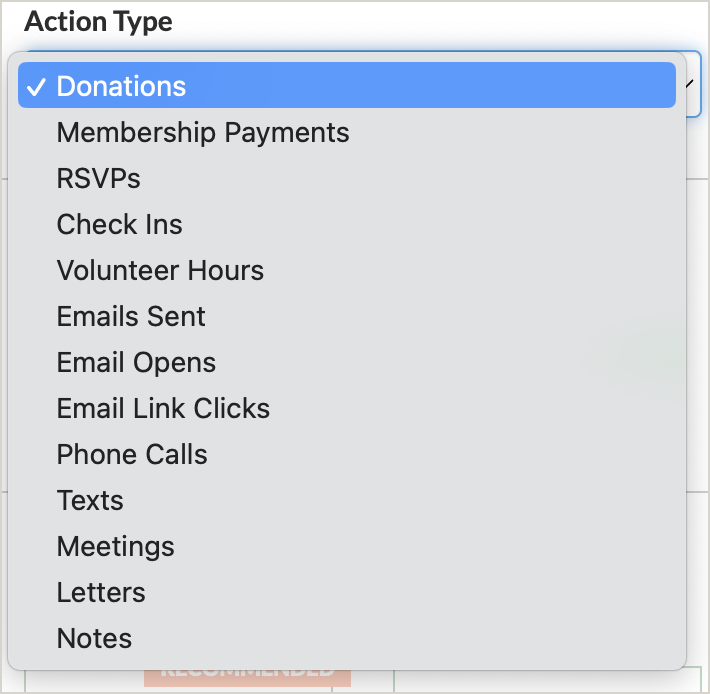
If you select Actions & Constituents as the Upload Type, a dropdown will appear allowing you to specify the Global Action Type that you wish to apply to your spreadsheet.
TIP: To ensure a smooth import process, it is important to separate your Action data, such as donations and RSVP tickets, onto individual spreadsheets before importing. This will help organize and manage your data more effectively.
Upload a File
Next, select the spreadsheet you want to upload Alpine database.
- Click Choose File.
- From your local computer drive, select the spreadsheet you want to upload.
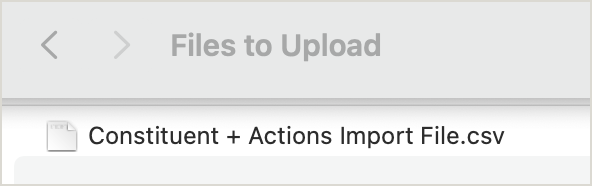
- Click Open. The file name will become visible after selecting the file from your computer.
- Once you have confirmed that you are uploading the correct file, click Upload.


Adding Additional Campaigns
If you are uploading a spreadsheet containing Actions & Constituents, click the dropdown to select the Campaign(s) to add to all created Actions.

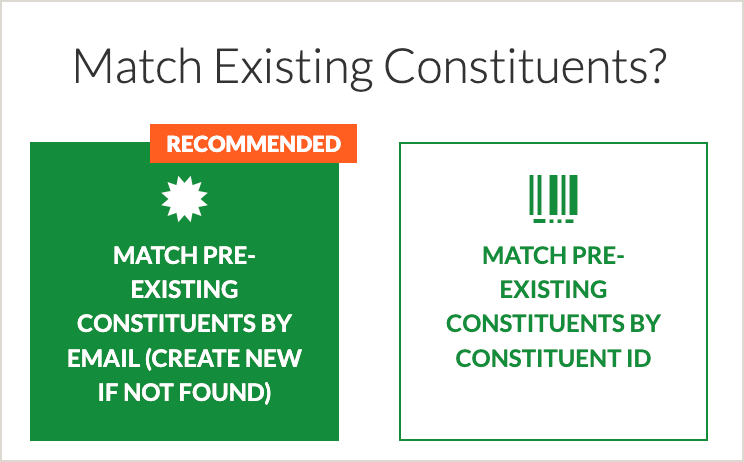
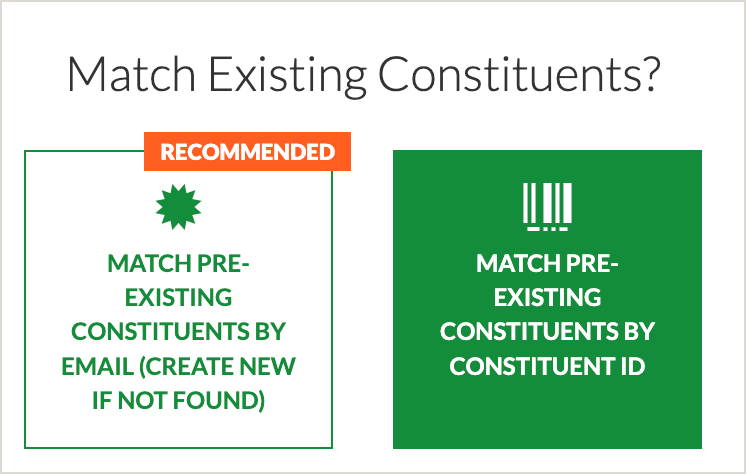
Matching Types
The Bulk Uploader comes with two different methods to match your data to pre-existing Constituents.
Match Constituents by email
This matching type attempts to match rows to existing Constituents by their Email Fields ([Base] Email as well as any Custom Fields of type Email). If no email fields are found, a new Constituent is created. This option skips any rows that have an invalid or blank email address in the chosen match email address field.
If matching pre-existing Constituents by their emails, select the column on your spreadsheet containing the email addresses of your Constituents.

Match Constituents by Constituent ID:
This matching type attempts to match rows to existing Constituents. If the Constituent is not found by the given Constituent ID, then that row will be skipped.
If you are matching pre-existing Constituents by their Constituent ID, select the column on your spreadsheet containing the Constituent ID for each Constituent. The Constituent ID is a system-generated number found in the Base Field of each Constituent profile in your Alpine database.

Sanitize Fields
Next, select whether or not to sanitize your input fields. If you select Sanitize Input Fields, the Bulk Uploader will “title-case” the fields for Name, Email Salutation, and Mailing Name. It will also attempt to format Phone numbers if applicable.
|
Input Field |
Before |
After |
|
Name and Mailing Name |
ronald swanson |
Ronald Swanson |
|
Email Salutation |
leslie |
Leslie |
|
Phone Numbers |
5558675309 |
(555) 867-5309 |
Match spreadsheet columns
After uploading your spreadsheet to the Bulk Uploader tool, the next step is to match each of the spreadsheet columns. Matching columns is the process of identifying which columns in the spreadsheet correspond to which fields in the Alpine database.
To match your spreadsheet columns with the desired Destination Alpine Field, follow these steps.
- Click the Source(s) dropdown.
- Select the column that you would like to match.
- Once selected, the column will appear in the Selected Spreadsheet Column(s) field. If you select more than one column (e.g. First Name and Last Name), the Bulk Uploader tool allows you to combine the cell values together.
- Next, use the Destination Alpine Field dropdown to identify the corresponding fields in your Alpine Database to map the spreadsheet column(s).
- Repeat this process for all of the columns in the spreadsheet that you want to import into your Alpine Database.
- Click Add New Matching Rule if you need to match additional columns to fields in your Alpine Database.


NOTE: By default, each matching field is set to Fill in if Blank by default. If you select Fill in if Blank, this means that any empty field in your Alpine Database will be filled with the data from your spreadsheet column once the import has been completed.
Alternatively, Users change the import option to Override Existing Values. Selecting this option will overwrite any current data that exists in the Destination Alpine field with the data from your spreadsheet column.
Broad categories of Destination Alpine Fields include:
- Ignore
- Tags/Tag Groups
- Campaign Categories
- Base Fields
- Custom Fields
- Add to Constituent Bulk Upload Action Notes
Continue mapping each column from your spreadsheet to a Destination Alpine Field. Check your mappings to make sure everything is correct before proceeding. This will help you avoid importing data into the wrong fields.
Preview Upload
Once you've completed mapping your spreadsheet columns to their respective Destination Alpine Field, you can proceed to preview your upload.
Click the Preview Upload button in the bottom left-hand corner of the interface. Once clicked, the Bulk Uploader tool will scan your imported data and highlight any potential errors. Hovering over each value in the preview table will pull up a tooltip with a brief description and guidance on how to fix each value.
NOTE: If your spreadsheet contains any of the following, you will not be able to finalize your import file:
- Invalid Actions (Invalid Amount)
-
Invalid Actions (Invalid Hours)
-
Invalid Actions (Action Date)
If there are no errors with your spreadsheet, click the Finalize Upload button. Your data will be uploaded to your Alpine database.

Reviewing your data
After you've finished importing your data, it's important to review your file import. A unique system-generate Campaign is applied to each individual import file. To view all of your imported files:
- Click Campaigns on the left-hand side navigation bar.
- Scroll down or use the search bar to navigate to the Category [System] Auto-Generated.
- Click on the Campaign associated with your Bulk Upload file.

Each imported Actions file includes the following information:
- File name
- Import date
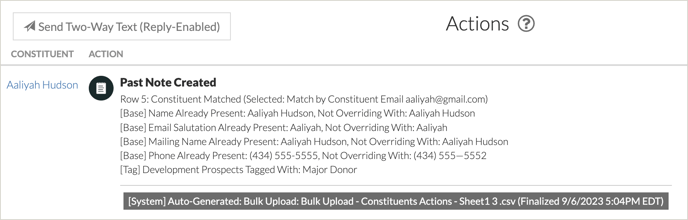
- A Note Action that explains how each row of data was imported
- Applied tags
- Applied campaigns
- Filled-in custom fields
- Overridden Constituent data, if applicable